

So, Wireguard is the latest sensation in the the VPN world. It’s got the best of the best you can think of when it comes to VPN performance, security, ease of connectivity and power saving. All new distros support it. Unfortunately, there is no default GUI for Ubuntu’s network manager yet. Here is how to build it for yourself .
Firstly, you need to install Wireguard. Then comes the building of the GUI from source code. It isn’t that scary though. Here are the steps. I built from my home folder, you can do the same.
Note: Please test it on a development box first . Do NOT try this directly on production servers
cd ~/

sudo apt install wireguard git dh-autoreconf libglib2.0-dev intltool build-essential libgtk-3-dev libnma-dev libsecret-1-dev network-manager-dev resolvconf
git clone https://github.com/max-moser/network-manager-wireguard

cd network-manager-wireguard

./autogen.sh --without-libnm-glib
./configure --without-libnm-glib --prefix=/usr --sysconfdir=/etc --libdir=/usr/lib/x86_64-linux-gnu --libexecdir=/usr/lib/NetworkManager --localstatedir=/var
make

sudo make install
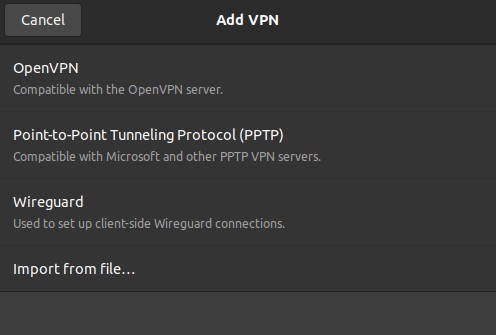
Once the building completes successfully, you should be able to see the Wireguard VPN option in the Network Manager settings (Settings -> Network ->VPN) .
![]()
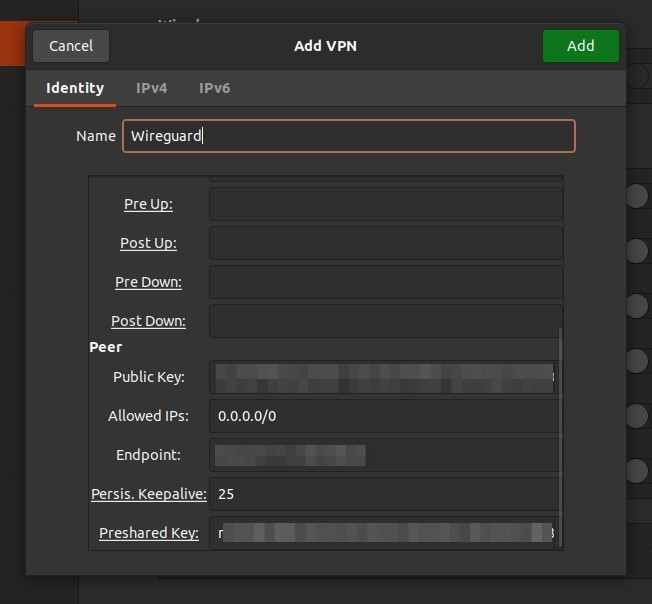
Then, you should be able to create or import Wireguard configuration files.
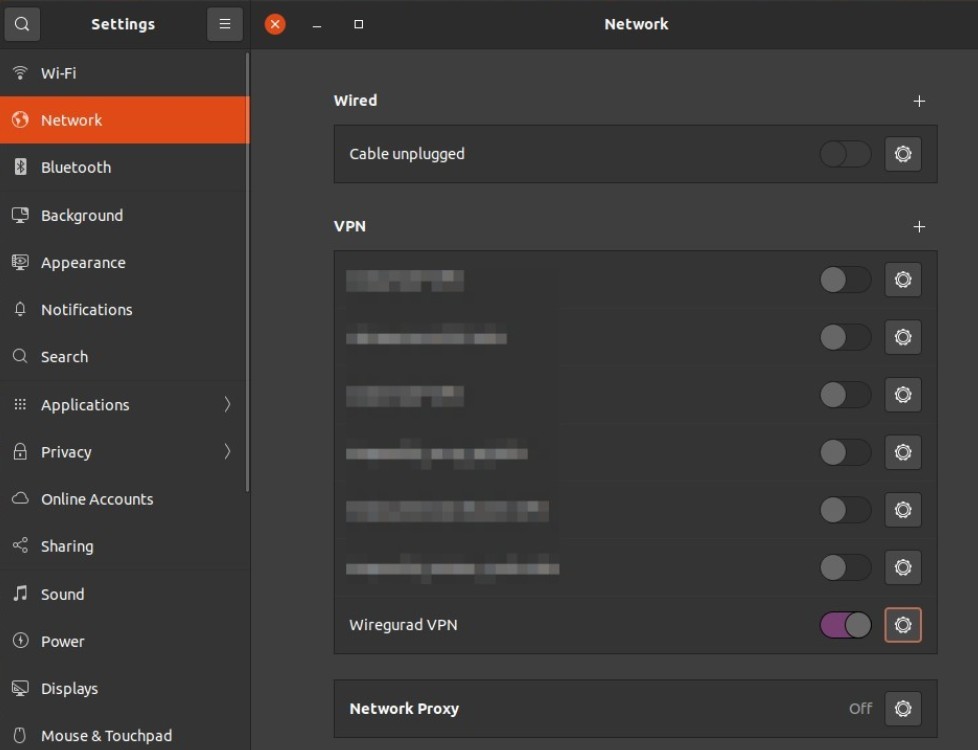
Once you enable the connection from the network manager, the vpn connects instantly. I could see the the VPN connected status in the logs as well as on my top status bar
Logs
NetworkManager[863]: <info> [1611811008.6864] vpn-connection .....output ommitted............,

"Wiregurad",10:(Wiregurad)]: Data: Tunnel Device: "Wiregurad"
Source: AskUbuntu
Leave a Reply