

Recently I had the opportunity to install and test two of India’s most widely used Mobile broadband providers’ USB datacards on Ubuntu 13.04. The following steps will help anyone trying to install Airtel datacard software & drivers on Ubuntu 13.04.
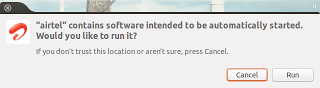

1 . On insertion of the Airtel data card, autorun will pop up asking to run the installer. Unfortunately, due to some permissions issue, the autorun is not able to automatically run the installer. Changing permission manually also does not work.

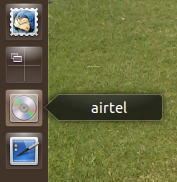
2. The workaround is to open the CD folder named ‘airtel’ as shown in the screenshot below and copy the contents of the Linux folder into your local folder e.g Desktop or Downloads.
3. Copy the contents shown in the screenshot below into a folder and name it Airtel-Linux. Or else you can download zip file for Airtel. http://ubuntuone.com/5KfgJKRzsLdOtQtuVrPVCK.
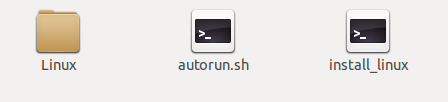
4. Go into the folder Airtel-Linux and give execute permissions for install_linux. Then run the file as root.
cd ~/Desktop/install_linux
chmod +x ./install_linux
sudo ./install_linux
5. During installation, you may get errors, the compiler complainant about missing gcc development libraries and NDIS driver installation failed. You can ignore the errors, as the basic installation consisting of the Airtel dashboard and the USB modem drivers will be installed .
Install NDIS driver failed.
The compiling environment is not all ready.
Please check gcc, make and kernel buid
.
.
.
NDIS is disabled, and only Modem can be used.
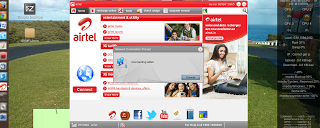
6. You will get confirmation of completion of the installation and the Airtel dashboard will popup. You can start connecting to the internet directly by clicking the connect button.

7. If you don’t like the Airtel dashboard, you can use the normal Network Manager installation procedure. Just use the Mobile Broadband (CDMA) connection.

Leave a Reply